Creating Your First Group
Creating your first group of students can be done from your dashboard in WP Admin. Head to Sensei LMS, then follow these steps:
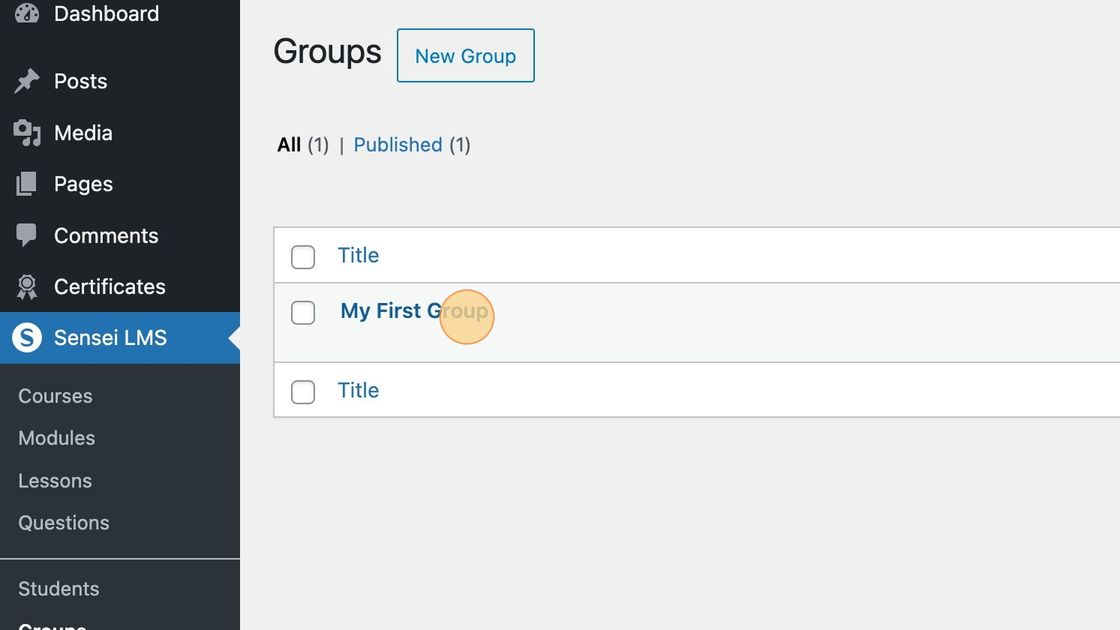
- Find the Sensei LMS menu in your dashboard and click “Groups”.
- Click “New Group”
- Click the “Group Name” field and give your group a name.
- Click “Create Group”
Create Cohorts and Access Periods
1. Click the group name you want to turn into a cohort.
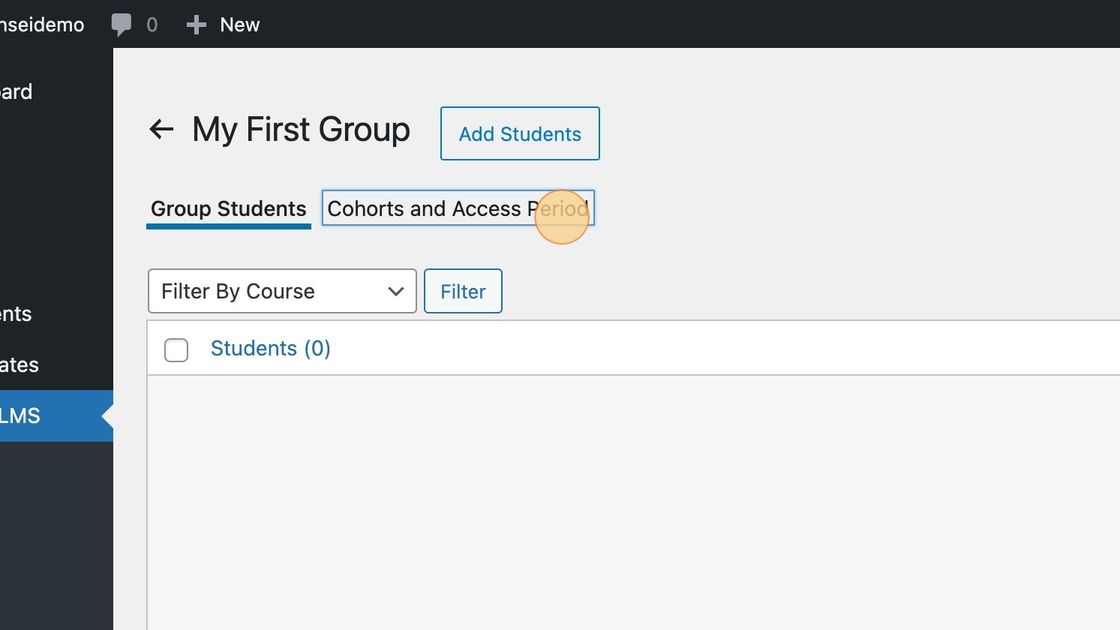
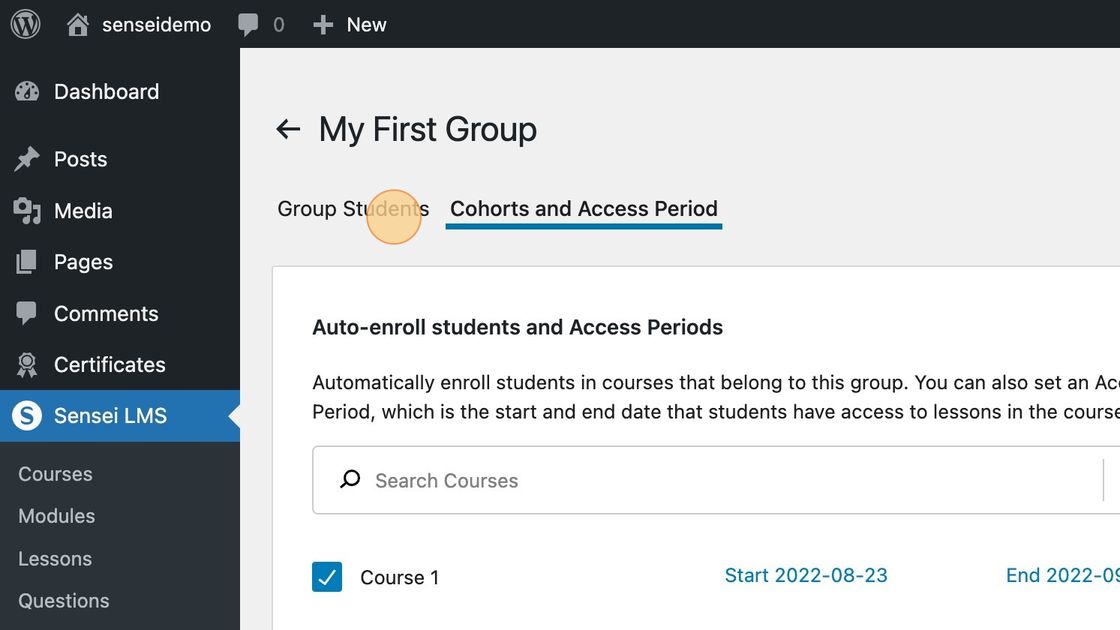
2. Click “Cohorts and Access Period”
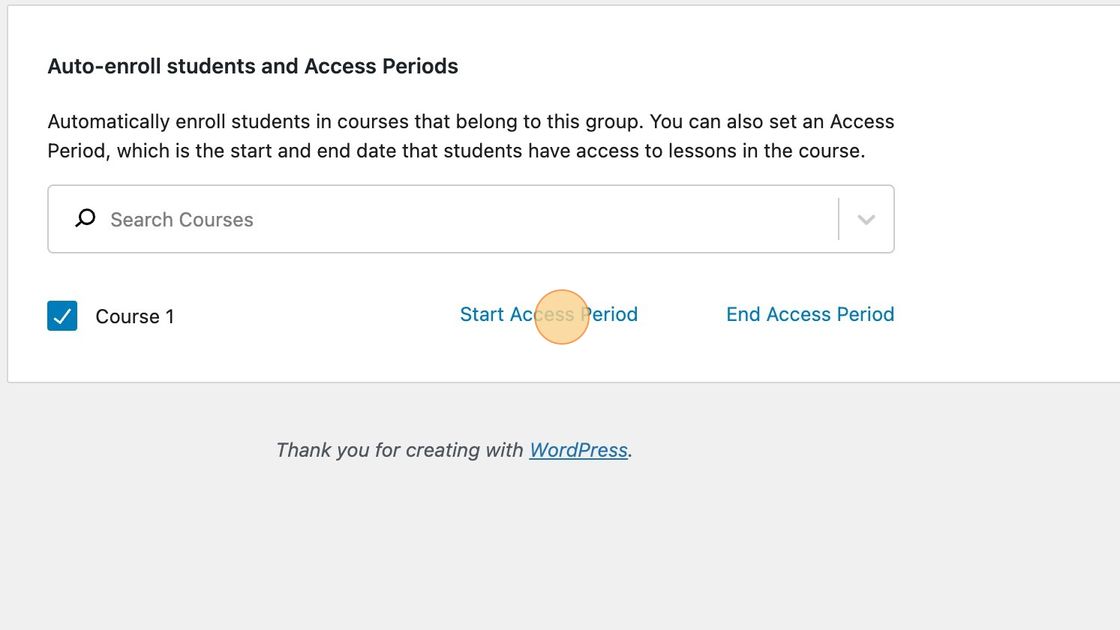
3. Assign courses to the cohort.
If they are not already, students in the cohort will be automatically enrolled in the course(s) listed.
4. Click “Start Access Period”.
This is optional, only if you want to set a date that course access begins.
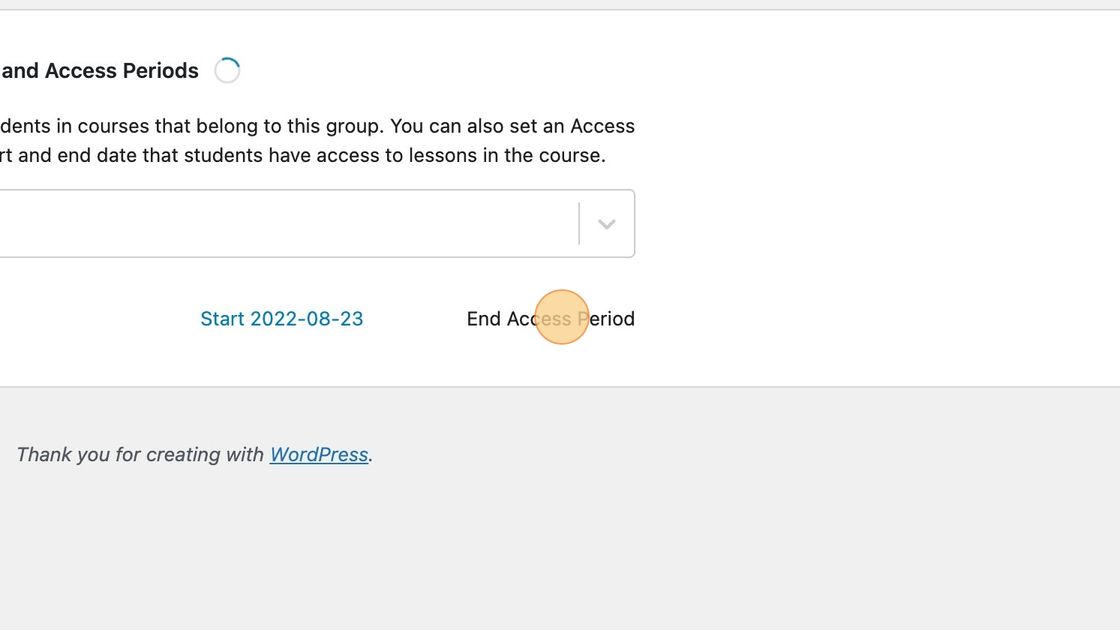
5. Choose the start date.
Choose the date that access to the course should begin. This will happen around 12:01 am in the main timezone of the site as shown in Settings > General.
6. Click “End Access Period”.
This is optional, only if you want to choose a date that the course access ends.
7. Select the end date.
Add Students to a Group or Cohort
1. Click “Group Students”
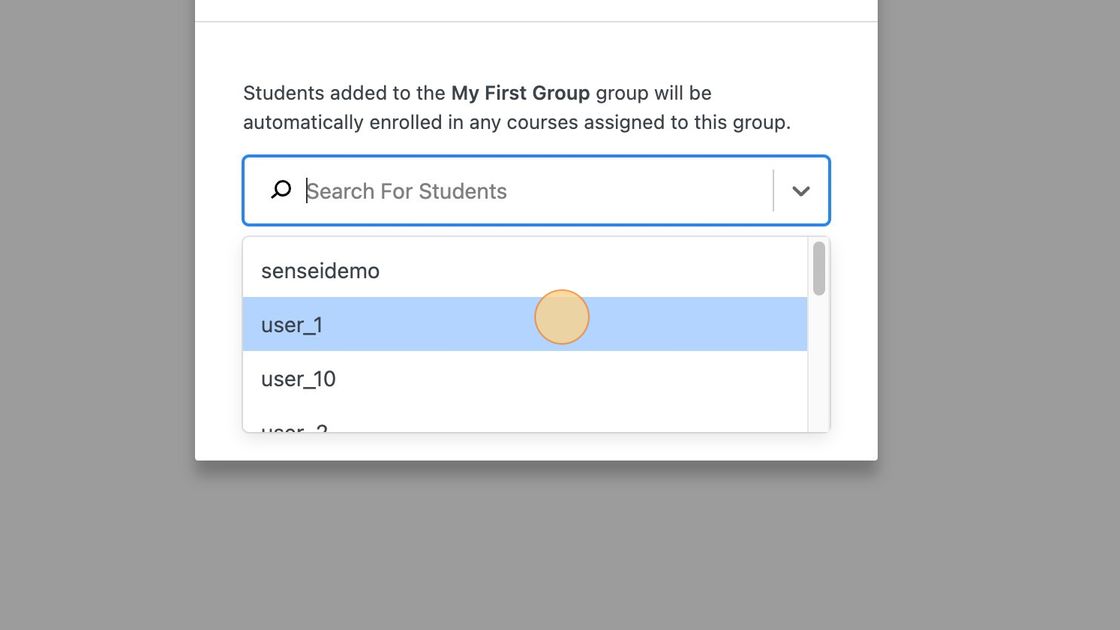
2. Click “Add Students”.
3. Search for students to add
Students must already have logins on the website to be added. You can send an invite link to ask the entire cohort to register on your site and enroll automatically.
If you want to add a single student to the cohort, you can create users and add them to a group if needed. You can read more on our Student Management documentation page.
4. Click “Add to Group”.
Note: your students won’t see and know whether they’re added to a group or a cohort. They also don’t see other cohorts on their end; it’ll look the same as enrolling in any other course. If you want to know how the course looks like from a student perspective, you can use the Preview as a Student feature.
Send an Invite Link for a Group or Cohort
1. Click “Copy invite link”
From the Groups page, click Copy invite link to generate a unique invite link for the group.

2. Edit the invite page
Once you copy the link, you will see a notification with a button to edit the group invite page, which is the same for all groups. You can customize or add all the blocks you want.

3. Send invitations
Once you have the invite link, you can distribute it to the individuals you wish to add to your group. You can send these links via email, messaging apps, or other communication channels. Once Students receive the link, they will be given the option to register on the site before they can join the group.
4. Instant enrollment
When someone clicks on your invite link, they are directed to a page that enables them to join the group. They are automatically placed into the relevant group, and enrolled in any courses that are part of that group.

Note: if you would like to restrict enrollment in any courses that are part of a group to just the group’s members, activate the Don’t allow self-enrollment setting for each course.
Searching within Groups
Searching for a student within a Group page requires you to enter their email address or their complete first or last name. i.e. searching for Kath will not return students named Kathryn.
As a workaround you can use an asterisk as a wildcard, e.g. searching for Kath* will return all students in the group whose name starts with Kath (Kathryn, Katherine, Kathleen etc.)